
This Week’s Guest Blogger is Christine Hennessey
Composting at Home
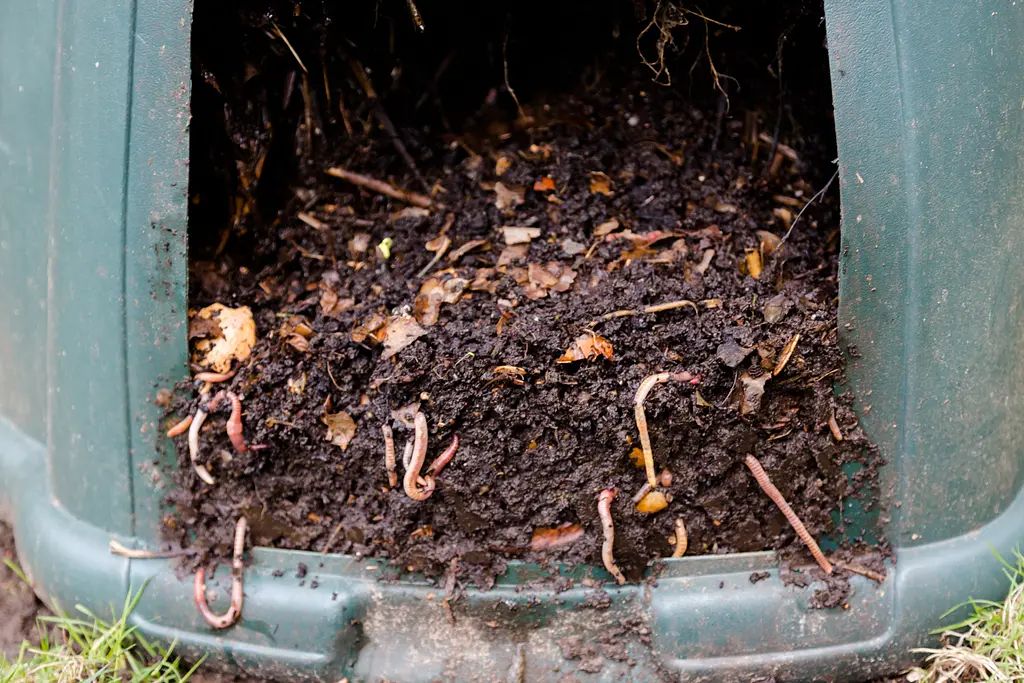
There’s a reason seasoned gardeners refer to compost as black gold. Rich and dark, this earth-like substance composed of decayed organic material is a powerhouse of nutrients. When incorporated into the soil, plants are healthier, flowers bloom brighter, and pests don’t stand a chance.
The best part? Compost can be made at home from ingredients you were planning to throw away, which means it’s not only good for the garden but environmentally responsible as well.
Composting at home is neither complicated nor expensive, and all it takes to start is just a few materials and the right combination of organic matter.
What to put in your compost pile
Composting requires three ingredients.
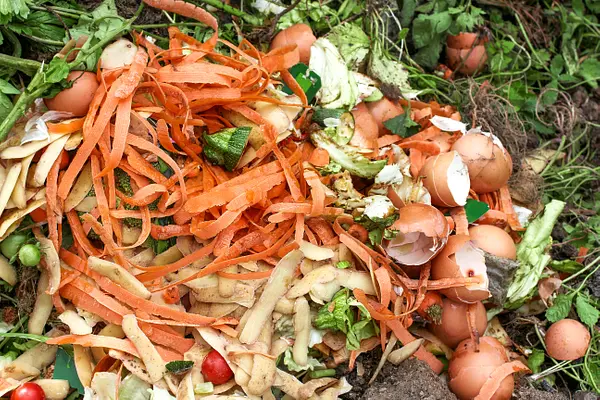
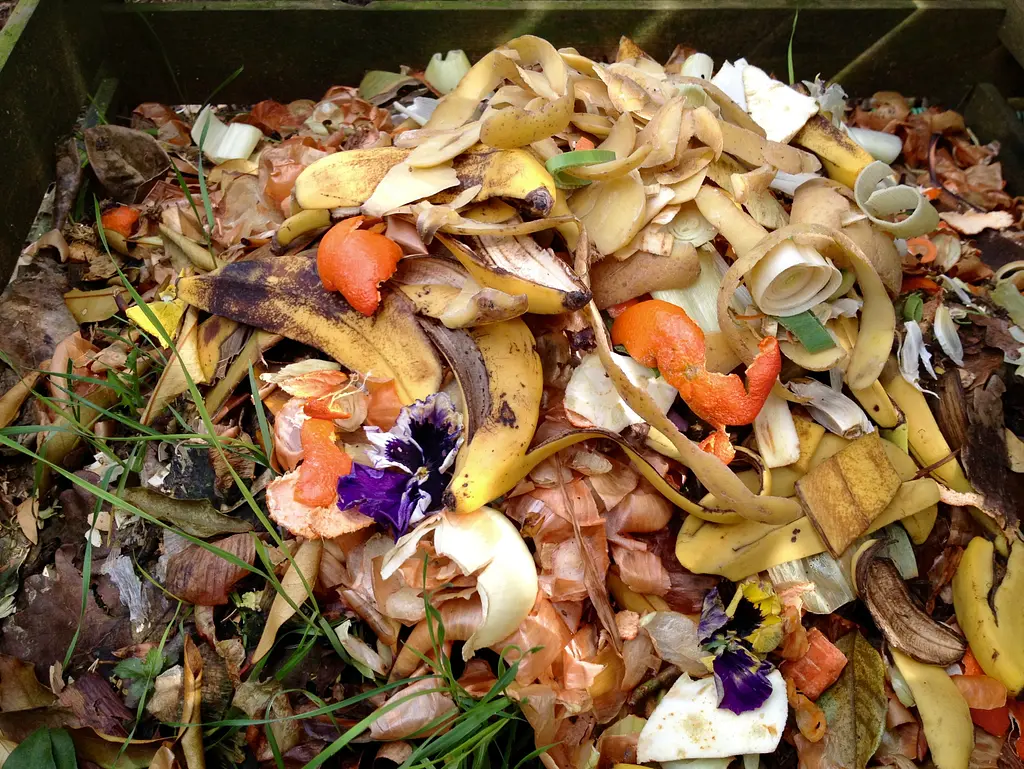
- The first is brown material, which includes dead leaves, branches, and twigs. These provide carbon.
- The second is green material, such as grass clippings, vegetable scraps, and used coffee grounds. These provide nitrogen.
- The final ingredient is water, which delivers the moisture needed to break down organic matter.
Get the ratio of materials right—too many scraps and not enough leaves, and your compost will turn into rotting sludge. The ideal ratio is two parts brown to one part green.
Make sure materials you add to your compost pile are in the smallest possible pieces. Chop vegetable scraps, shred newspaper, and cut twigs and branches. This increases the surface area and helps materials break down faster.
When building your compost pile, avoid meat, bones, or fatty foods. These require very high temperatures to decompose and can harbor unhealthy bacteria.
Tools for composting at home
Kitchen scraps and dead leaves are really the foundation of a compost pile. Still, there are a few tools that will speed up the process and make composting at home easier.
- A pitchfork will help you turn, mix, and aerate your compost.
- A garden hose will make it easy to keep your compost pile moist.
- A small canister or bowl on your kitchen counter lets you store vegetable scraps until you’re ready to carry them to the compost pile.
- A compost thermometer allows you to monitor the temperature of the pile and make sure it’s hot enough for decomposition to occur. Ideally, your compost pile should stay between 110°F and 160°F.
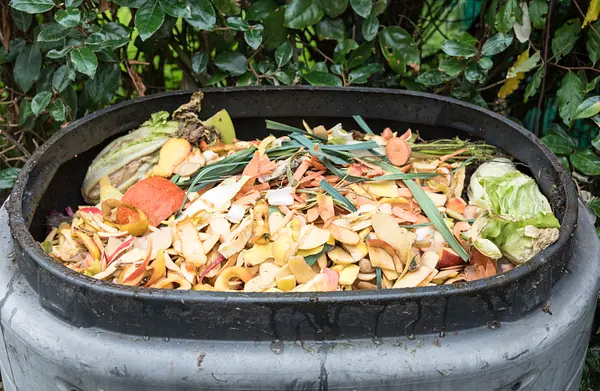
- A tumbler is a composter that spins, and can be used to compost smaller amounts of materials. Beware, though—as the tumbler fills up, it will be more difficult to turn.
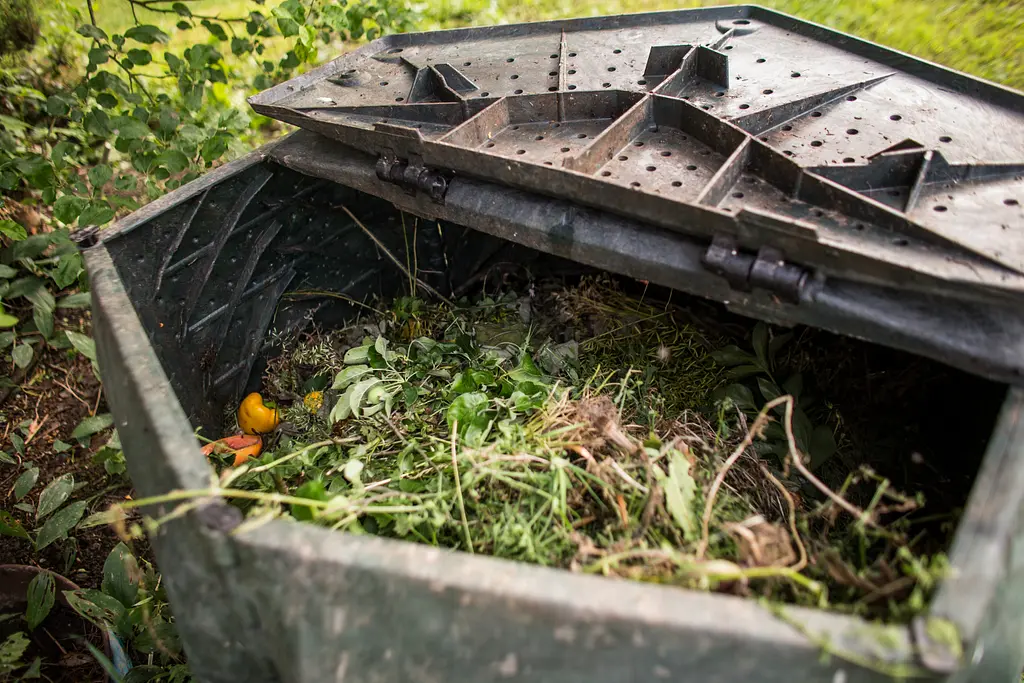
- A compost bin has a small footprint, but makes it difficult to turn the compost, which means the process takes longer overall. It can also be tough to get the compost out of the bin once it’s ready.
- A traditional compost pile is simply that—a pile. If you want, you can put a fence around the pile for aesthetic purposes, but it’s not necessary.
How to: building a backyard compost pile
1. Pick a spot
Find a dry, shady spot for your compost pile, ideally near a water source or within reach of a hose. Place your compost pile directly on the earth—asphalt or concrete will inhibit the flow of oxygen.
2. Set a date
You can start a compost pile at any time of the year. If possible, fall is ideal. It offers easy access to an excellent balance of materials, such as grass clippings (for nitrogen) and fallen leaves (for carbon).
3. Measure it out
Composting is an aerobic process, which means it requires oxygen. It also produces heat as materials break down. If your compost pile is too small, it won’t heat up, and if it’s too big, it will be difficult to manage. The ideal range is between 3×3 feet (by 3 feet deep) and 5×5 feet (by 5 feet deep).
4. Kick it off
To spark the composting process, throw in a few handfuls of garden soil or finished compost.
5. Mix it up
Compost isn’t a set it and forget it endeavor. About once a week, mix the pile with a shovel or pitchfork. This allows more oxygen to flow through the pile.
6. Keep it moist
Add water to your compost pile as needed. It should be damp to the touch, but not soaking wet.
7. Be patient
Depending on the size of your pile, it can take anywhere from six months to two years to finish the composting process.
8. Use it up
To add your black gold to the garden, simply work it into the soil a week or two before planting, or spread it around your plants.
Benefits of composting
- Compost enriches the soil, adding nutrients such as phosphorus, potassium, and nitrogen to your garden.
- When added to loose or sandy soil, it helps your garden retain water. When added to heavy soil, it helps with aeration.
- Compost an ideal breeding ground for beneficial bacteria and fungi. These produce humus, a rich organic material full of nutrients widely considered the secret to great soil.
- Composting at home prevents erosion and protects roots from damage caused by the elements.
for more information and to read other articles in the series please visit